How to Get Fake Nails to Stay on Longer: Pro Tips for Long-Lasting Wear
Preface
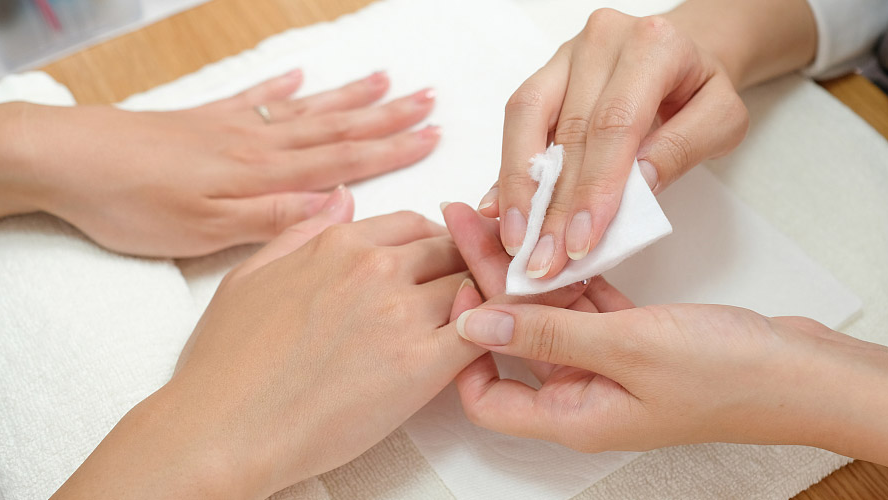
Prep Your Natural Nails Properly

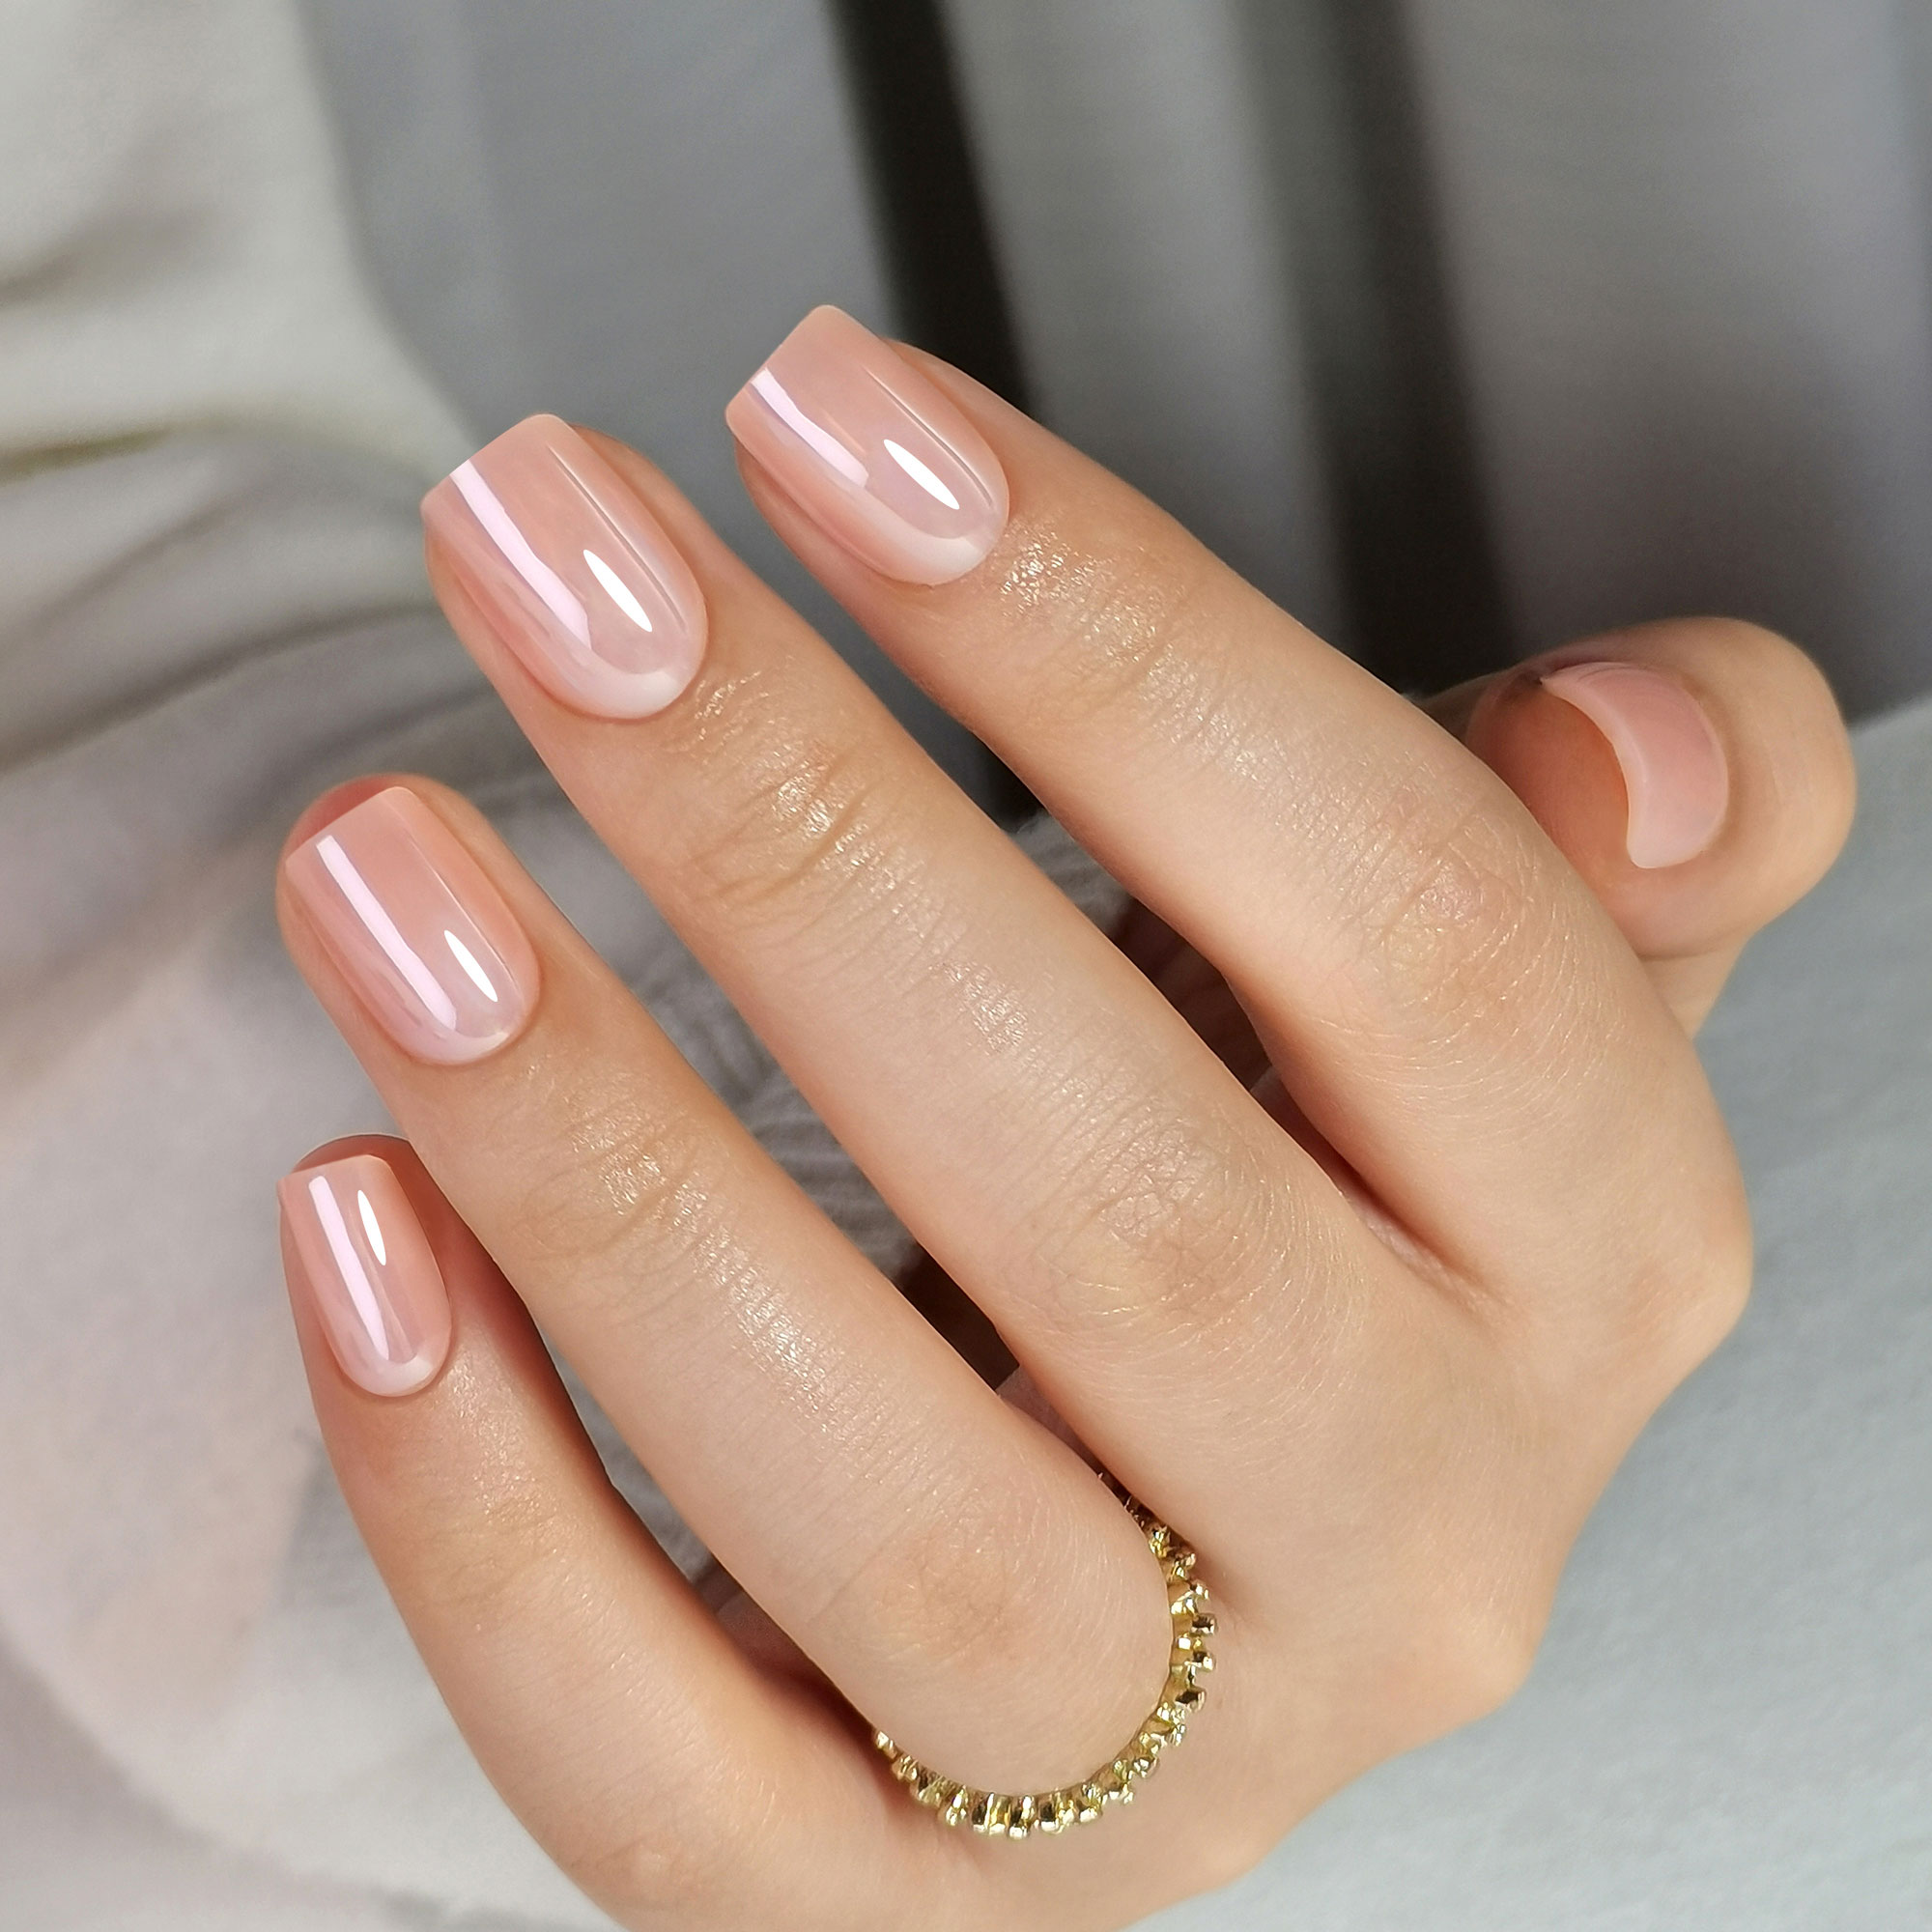
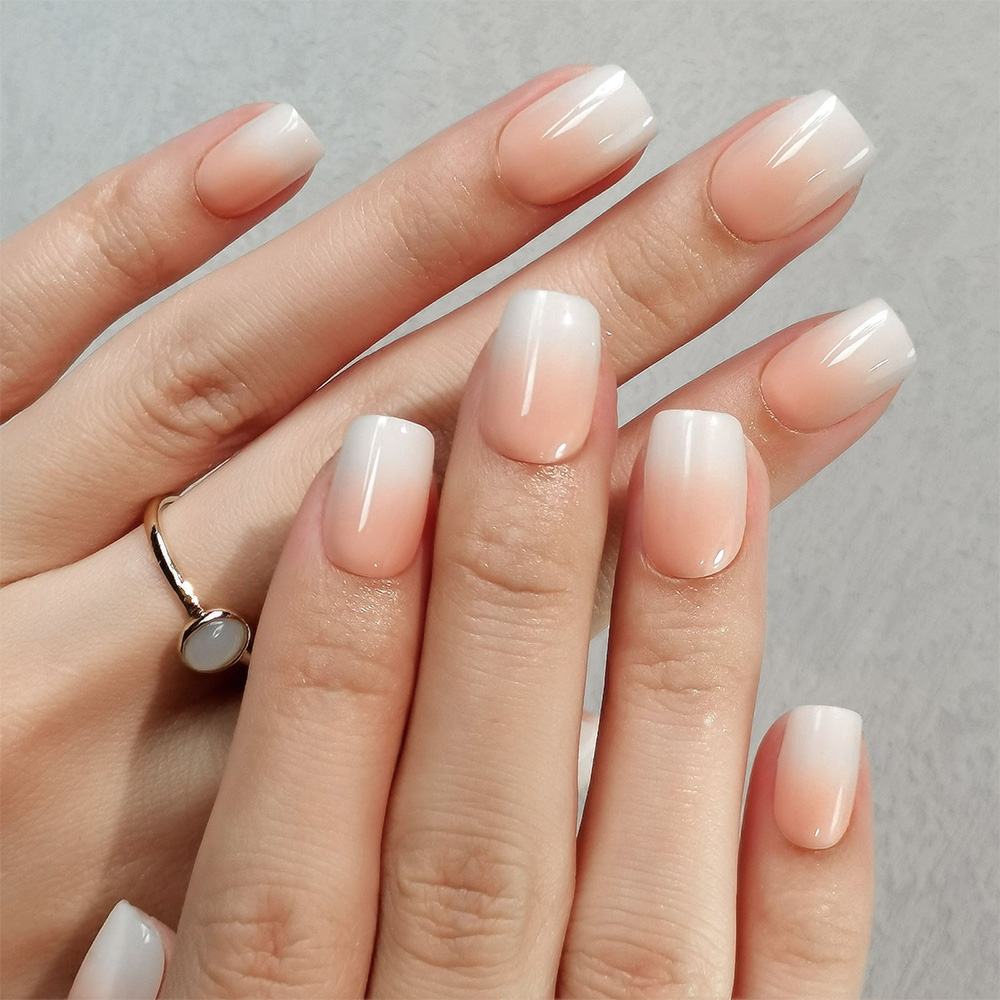
Choose the Right Type of Fake Nails
| Feature | Press-On Nails | Acrylic Nails | Gel Extensions |
| Picture |
 |
 |
 |
| Ease of Application | Very easy; just apply with glue | Requires skill; mix of liquid & powder to form shell | Requires skill and UV lamp for curing |
| Durability | Short-term (1-2 days) | Long-lasting; can endure daily wear and tear | Durable, flexible, and less prone to chipping |
| Look & Feel | Pre-designed, not as natural | Thick, can be bulky but customizable | Natural, flexible, and smoother finish |
| Cost | Affordable, one-time use | Mid-range cost; requires regular fills and maintenance | Higher cost due to time, skill, and equipment required |
| Maintenance | No maintenance required | Requires regular fills every 2-3 weeks | Requires upkeep but less frequent than acrylics |
| Flexibility | Limited designs and styles | Customizable but can feel stiff | Highly flexible and natural-looking |
| Longevity | Temporary, great for short-term use | Lasts 2-3 weeks, can endure daily activities | Lasts 2-3 weeks with minimal chipping |
| Removal | Easy to remove; no damage to natural nails | Requires professional removal | Requires professional removal or special products |
https://www.xianxingbeauty.com/customization.html
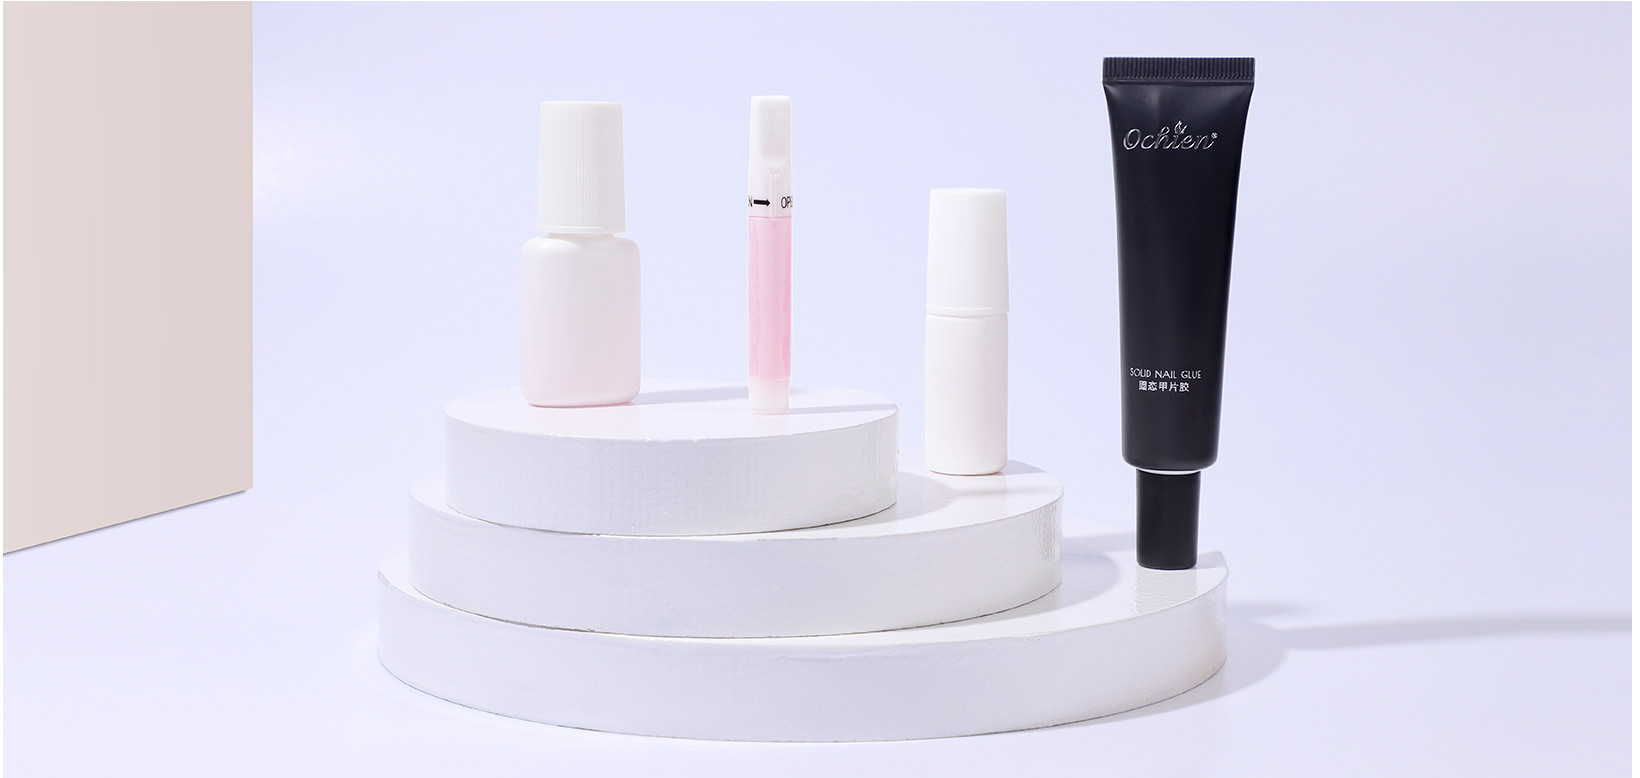
Use High-Quality Nail Glue

DIY Tips: How to Apply False Nails Properly?
Proper Placement and Pressure

Seal the Edges for Extra Hold
Maintain Your Fake Nails for Longevity
Remove Fake Nails Safely to Prevent Damage
Conclusion
FAQs

How to Choose Reliable Press On Nails Manufacturers for Private Label Business

How to Choose a Reliable Press On Nail Supplier? 6 Key Indicators You Must Know

How to Source High-Quality Press On Nail Vendors to Build a Top Brand (2026 Guide)

How to Make Long Coffin Press On Nails Look Like Real Salon Acrylics: The Pro Secret

Custom Long Coffin Press on Nails: How to Create Your Own Private Label Line
Agent
Are the product types rich?
Xianxing has more than 100 types of nails, 1000 styles stock available, and is updated regularly every month. The products are very rich.
Drying Nail Glue
Can I reuse press-on nails after removing them?
Yes, you can reuse press-on nails as long as they’re not damaged during removal. Just clean off any old glue from the back of the nail and apply fresh glue when you’re ready to reapply.
About Christmas Nails
How long do Christmas press ons last?
With proper application and care, press on nails can last anywhere from 7 to 14 days. The longevity depends on:
* Application Method: Using nail glue provides the strongest hold (7-14 days). Adhesive tabs are great for short-term wear (1-3 days) for a party.
* Your Natural Nails: How oily your nail beds are and your daily activities.
* Prep Work: Properly preparing your natural nails is the #1 factor for longevity.
Nail Dust Removal Brush
How do you use a nail dust cleaning brush?
Simply dip the brush into the dust after filing or buffing, then gently sweep the bristles over the nails and surrounding skin to remove any dust or debris. You can also use the brush to clean up the workstation.
Soft Gel Nails
Do I need professional help to use soft gel press-on nails?
No, they are user-friendly and designed for at-home application, though they can also be used in salons for professional results.

Custom High Quality Salon Nails File For Your Brand
A nail file is a tool used to shape, smooth, and refine the edges of your nails. It usually has an abrasive surface that helps to gently file down the nail, preventing snags and breakage. Nail files come in different materials, such as emery boards, glass, or metal, and vary in grit levels, from coarse for shaping to fine for finishing touches.

Wholesale Nail Dust Makeup Brushes
A nail dust cleaning brush is a small, soft brush used to remove dust and debris from the nails and surrounding skin after filing or buffing. It helps keep the nails clean, ensuring better results for nail polish or other nail treatments. The brush typically has gentle bristles to avoid damaging the nails or skin.

Wholesale Glue Nails Adhesive Tabs Jelly Glue Tape
Press-on nails adhesive tabs are small, double-sided strips that allow you to attach press-on nails to your natural nails without using glue. They are easy to apply, gentle on nails, and typically offer a temporary hold, making them perfect for short-term wear or for those who want to avoid damage from stronger adhesives. You simply stick the tab on your natural nail, press the press-on nail onto the tab, and hold it in place for a few seconds.

OEM/ODM Custom Premium Quick Drying 2g 5g 7g Nail Glue
An alcohol pad is a small, pre-moistened wipe that contains isopropyl alcohol. It’s used for cleaning and disinfecting surfaces, such as skin before injections, or tools before use. It helps to kill bacteria and sanitize the area quickly.
Contact us
If you have press on nails products or customization needs, please feel free to contact from
below or via the contact information provided, we'll get back to you promptly within 24 hours.
By clicking 'Send Inquiry Now' I agree to XIANXING BEAUTY processing my personal data.
To see how to withdraw your consent, how to control your personal data and how we process it, please see our Privacy Policy and Terms of use.
Copyright © 2025 - XIANXING BEAUTY All Rights Reserved. Sitemap

Facebook
YouTube
Instagram
LinkedIn